Are your kitchen cabinets in need of a makeover? You might be surprised at how a little paint can breathe new life into your space. A fresh coat of paint is a quick and cost-effective alternative to replacing your cabinets entirely, and it can save room in the budget for more kitchen remodeling down the road. Painting your cabinets is a DIY project that, when done correctly, can yield professional results. In this comprehensive guide, we will walk you through the process of painting kitchen cabinets step by step, providing expert tips and tricks along the way. Let's dive into this exciting project!
How Much Space Do I Need for This Project?
You don't need a dedicated workshop, but having a well-ventilated and organized space is essential. Make sure you have enough room to lay out doors and drawers for painting and drying without crowding.
Unless you are in the middle of a full interior remodel, having a designated space for painting your cabinets can help keep the process organized and prevent paint from getting on other surfaces. Use drop cloths and plastic sheets to protect your workspace.
1. Preparing to Paint Kitchen Cabinets
Before you start your kitchen cabinet paint job, gather all the necessary materials and tools. Visit your local paint store to ensure you have the right supplies, including high-quality paint (choose between latex paints or oil-based paint for a durable finish), a paint sprayer for a smooth application, painter's tape for protecting areas you don't want to paint, a synthetic bristle brush, and a foam roller for detailed work. You'll also need tack cloth to remove dust and debris, a putty knife for any necessary wood filler, and drop cloths to protect your workspace. To remove any grease or oil that may come through the fresh paint, thoroughly clean and degrease your cabinets.
PRO TIP: Set Up a DIY Paint Station
It will save you a lot of hassle having a dedicated space
Step 2. Removing Cabinet Doors and Hardware
To ensure an even application and access to all surfaces, begin by removing the cabinet doors and all cabinet hardware. Label each door and its corresponding location to make reassembly a breeze.
Step 3. Cleaning and Sanding Your Cabinets
Properly clean and degrease your cabinets to remove any built-up grime. Follow up with lightly sanding the surfaces to create a smooth canvas for the paint to adhere to. Don't skip this step, as it's crucial for paint adhesion.
Oil or Latex?
Choosing between oil-based and latex paint largely depends on your preferences. Oil-based paints provide a more durable finish but require longer drying times and proper ventilation. Latex paints, on the other hand, dry faster and have less odor but may not be as durable.
Step 4. Applying Primer and Paint
Now that your cabinets are prepped, it's time to move on to the actual painting process. Here's how to do it:
4.1 Primer
Apply a high-quality primer to the cabinet doors, drawers, and cabinet boxes. This step ensures that the paint adheres evenly and enhances its durability.
Prime the Cabinet Boxes
Don't forget to prime the cabinet boxes in addition to the doors and drawers. This step is crucial for a uniform and long-lasting finish.
4.2 Paint
Choose the right paint for your cabinets. Latex paint dries faster and has less odor, while oil-based paint provides a more durable finish. Work in thin coats, allowing each coat to dry completely before applying the next. This patience will pay off with a beautifully painted kitchen.
Step 5. Achieving a Smooth Finish
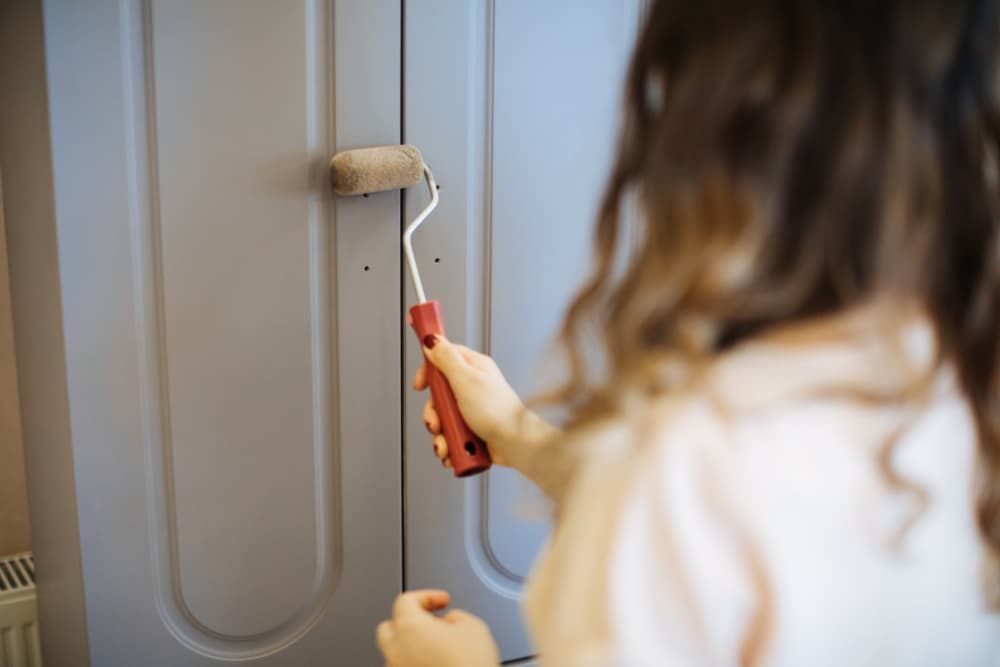
Whether you're using a paint sprayer, brush, or roller, the key to a professional finish is patience. Work meticulously to minimize brush strokes and ensure an even, smooth coat of paint.
Step 6. Choosing the Right Paint Color
Selecting the perfect paint color for your cabinets is essential. Consider your kitchen's overall style and existing color schemes. It's often a good idea to obtain paint samples and test them on a small area before committing to a color.
Optional Step 7: Painter's Tape and Plastic Wrap
Use painter's tape to protect areas like countertops and walls from errant brush strokes. If you're painting over an extended period, consider using plastic wrap to cover your brushes and rollers to prevent them from drying out between coats.
Step 8. Multiple Coats for Durability
For a long-lasting finish, apply at least two or three coats of paint, allowing each coat to dry fully before moving on to the next. A third coat can add extra durability and depth to your finish.
Step 9. Reassembling Your Cabinets
Once your cabinets are completely dry, it's time to reassemble them. Attach the cabinet doors and hardware, making sure everything is aligned correctly.
Step 10. Enjoy Your Newly Painted Cabinets
Step back and admire your work! You've successfully transformed your kitchen with a painting kitchen cabinets project. Your cabinets now look as good as new, and your space has a fresh, updated feel.

Is Painting Kitchen Cabinets a Good Idea?
Absolutely! Painting your kitchen cabinets is an excellent idea for anyone looking to refresh their kitchen without breaking the bank. It’s a fantastic DIY project that can yield stunning results when done correctly.
Can I Just Paint Over My Kitchen Cabinets?
While it might be tempting to skip the prep work and dive right into painting, it’s essential to follow the proper steps for a lasting finish. Start by removing the cabinet doors and hardware, as this ensures an even application and access to all surfaces.
Is It Better to Roll On or Brush On Paint for Kitchen Cabinets?
Both rolling and brushing have their merits. Rolling can give you a smooth, even finish, while brushing allows for more control, especially in corners and crevices. Many professionals use a combination of both techniques for the best results.
How Hard Is It to Paint Kitchen Cabinets?
While painting kitchen cabinets is not the easiest DIY project, it’s certainly manageable with the right tools and techniques. Patience, attention to detail, and a systematic approach are key to achieving professional-looking results.
Do You Need to Sand Cabinets Before Painting?
Sanding is a critical step in the prep process, as it helps the paint adhere better to the cabinet surface. It also smoothes out imperfections and old finishes. Don’t skip this step for a professional-looking result.
How Do I Choose the Right Paint Color?
Selecting the perfect paint color for your cabinets can be a daunting task. Consider your kitchen's overall style, your personal preferences, and any existing color schemes. It's often a good idea to obtain paint samples and test them on a small area before committing to a color.
The Easiest Way To Paint Cabinets
If you're looking for a quick and efficient way to paint your cabinets, consider using a paint sprayer. Sprayers can provide a smooth, professional finish in less time compared to traditional brushes and rollers.
How Much Does It Cost to Paint Kitchen Cabinets?
The cost of painting kitchen cabinets can vary depending on factors like the size of your kitchen, the quality of paint and materials used, and whether you choose to do it yourself or hire a professional painter. However, it's generally an affordable alternative to cabinet replacement.
Ensure the Time is Worth the Effort
As you embark on this exciting journey of transforming your kitchen with freshly painted cabinets, it's essential to consider the time and effort required for a DIY project versus the convenience of hiring a professional painter. While painting your cabinets can be a rewarding endeavor, it's not without its challenges and time commitment. If you'd rather leave the task to skilled hands and ensure a flawless finish, we invite you to contact Raleigh Remodeling Company. Our team of experts specializes in cabinet painting, delivering outstanding results that will breathe new life into your kitchen. Don't hesitate to reach out to us today at 919-271-3892 or via our online contact form for a consultation and let us help you achieve the kitchen of your dreams. Your beautiful, newly painted cabinets are just a call away!